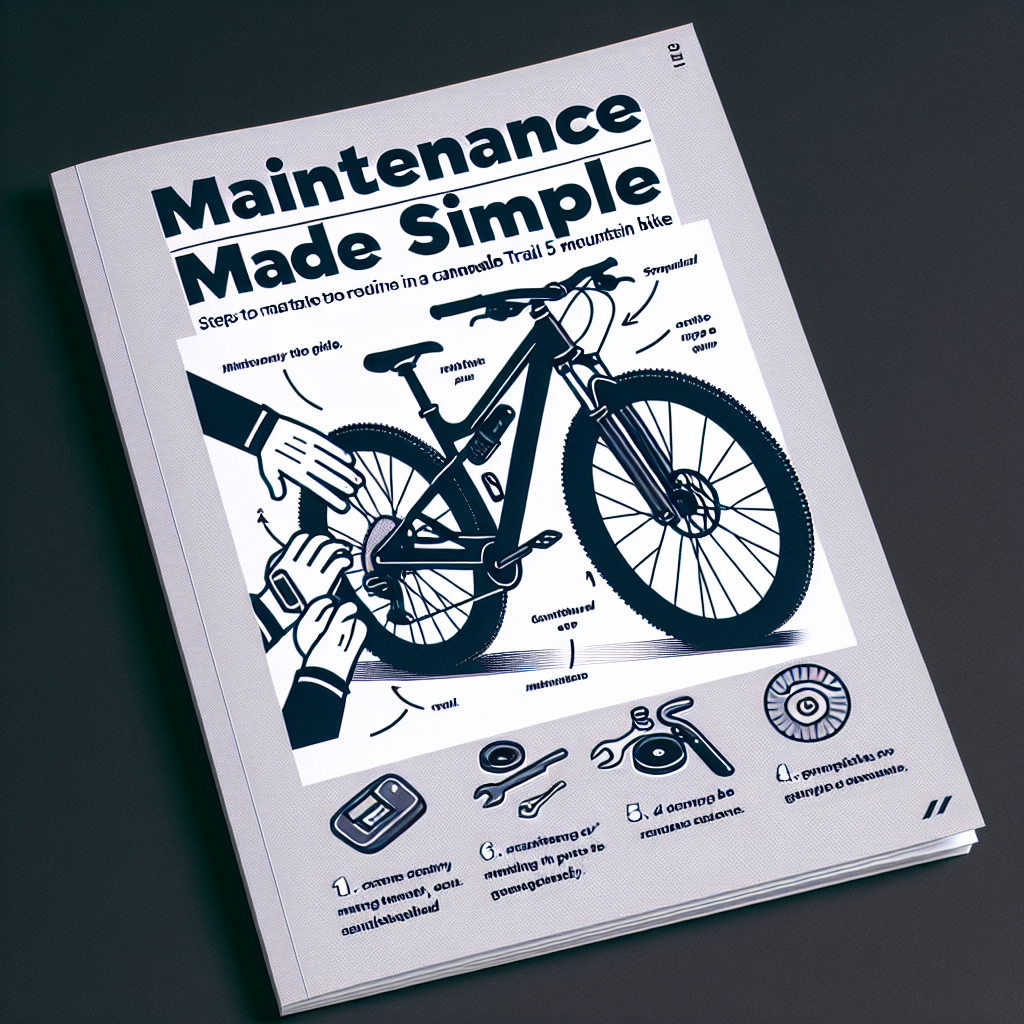
Riding into the Golden Years: Essential Bike Maintenance for Seniors
As we embrace the golden years, staying active is key to a vibrant lifestyle, and cycling is a fantastic way to keep moving. The Cannondale Trail 5 is a trusty steed for many senior riders, but like any machine, it requires regular care to perform at its best. I’m here to guide you through maintaining your Cannondale Trail 5 so you can enjoy a smooth and safe ride every time.
Key Takeaways
- Understand why regular bike maintenance is crucial for a safe and enjoyable cycling experience.
- Discover the essential tools needed for basic bike maintenance at home.
- Learn about advanced tools for more in-depth repairs and when to use them.
- Master the pre-ride check routine to ensure your bike is road-ready.
- Gain confidence in your ability to maintain your Cannondale Trail 5 with ease.
Why Regular Maintenance Matters
Think of your bike as a loyal companion that needs attention to stay in top shape. Regular maintenance prevents wear and tear from taking its toll, ensuring each component works harmoniously. This not only extends the life of your bike but also keeps you safe on the road. A well-maintained bike responds better, which is crucial when you need to maneuver quickly. Plus, it saves you money in the long run by avoiding costly repairs.

Here’s what you gain with consistent upkeep:
- Enhanced safety: Brakes that work properly and tires with the right air pressure can be lifesavers.
- Improved performance: A clean, well-oiled bike means smoother rides and more fun.
- Cost savings: Catching issues early prevents expensive fixes down the line.
- Peace of mind: Knowing your bike is in good shape lets you focus on the joy of riding.
- Personal satisfaction: There’s a sense of pride in maintaining your own ride.
Gearing Up: Tools Every Senior Biker Needs
Before we dive into the nitty-gritty, let’s talk tools. Having the right tools for the job makes all the difference. You don’t need to be a professional mechanic, but a few basic tools will empower you to handle most maintenance tasks yourself.
Basic Toolkit for At-Home Repairs
Start with these essentials:
- A set of Allen wrenches (hex keys) for tightening bolts
- A bike pump with a pressure gauge to keep tires inflated correctly
- Tire levers for removing and installing tires
- A chain tool for fixing broken links
- Lubricants and degreasers to keep the chain moving smoothly
- A set of screwdrivers for adjusting derailleurs and shifters
- A rag for cleaning and a brush for scrubbing the chain and gears
With these tools, you’ll be able to perform basic maintenance tasks such as tightening loose parts, adjusting brakes and gears, and keeping your bike clean and lubricated.

Advanced Tools for Specific Repairs
For those who want to go a step further, consider these advanced tools:
- A torque wrench to ensure bolts are tightened to the manufacturer’s specifications
- Cable cutters for trimming brake and shifter cables
- A spoke wrench for truing wheels
- A chain checker to measure chain wear
- A bottom bracket tool for crankset maintenance
- A bike stand to hold your bike securely while you work
- A pedal wrench for removing and installing pedals
These tools are great for more in-depth maintenance and repairs, but they’re not essential for everyone. Assess your comfort level and the complexity of your bike’s needs before investing in these items.
First Things First: Pre-Ride Check
Now, let’s get to the heart of the matter. Before each ride, a quick check can help you spot potential issues. This routine is like a morning stretch – it prepares you and your bike for the activity ahead.
Here’s a quick pre-ride checklist:
- Inspect the tires for wear and ensure they’re inflated to the correct pressure.
- Check that the brakes engage smoothly and firmly.
- Make sure the chain is clean and lubricated.
- Look for any loose bolts or parts.
- Give the bike a gentle shake to ensure everything is secure.
A pre-ride check doesn’t take long, but it’s a vital habit that can prevent accidents and mechanical failures. It’s like looking both ways before crossing the street – a simple act that keeps you safe.
Brake and Gear Check
Brakes are your best friends on the road; they deserve your undivided attention. Squeeze the brake levers to make sure they feel firm and spring back into place quickly. Listen for any scraping or squeaking, which could signal that it’s time for a pad replacement or adjustment. As for gears, shift through them to ensure smooth transitions. If you hear clicking or hesitation, it might be time for a tune-up.
Tire Inspection and Air Pressure
Next, let’s talk tires. They should be free of cuts, cracks, or bulges. As for air pressure, too much or too little can lead to trouble. Check the side of your tire for the recommended PSI and use your bike pump to adjust accordingly. Properly inflated tires reduce the risk of flats and make pedaling easier.
Keeping It Clean: Bike Hygiene Basics
A clean bike isn’t just about looks; it’s about longevity and performance. Dirt and grime can work their way into moving parts, causing wear and tear. Plus, a clean bike gives you the chance to inspect the frame and components closely for any damage.

How to Properly Clean Your Bike
For a thorough clean, you’ll need a bucket of soapy water, a sponge or soft brush, and a hose set to a gentle spray. Start with the frame, working your way down to the wheels and drivetrain. Rinse carefully, avoiding direct water spray into bearings or the chain. Dry with a clean cloth, and while you’re at it, inspect for any signs of damage or wear.
When to Degrease and Lubricate the Chain
Your chain is the lifeline of your bike’s drivetrain. After cleaning, apply a degreaser and scrub with a brush to remove built-up grime. Rinse thoroughly and let it dry. Then, apply a bike-specific lubricant, wiping away any excess. Remember, a little goes a long way. Do this every few weeks or after rides in wet conditions.
Tires: The Foundation of Your Ride
Tires are your only contact with the road, so their condition is critical for a smooth ride. Regular inspections can prevent flats and ensure you’re rolling efficiently.
Assessing Tire Wear and When to Replace
Look for the tread wear indicator on your tires, which is a small notch that, when flush with the tire surface, means it’s time for a new set. Other signs include frequent flats, visible fabric, or if the tire doesn’t hold air well. Replacing tires before they’re completely worn out can save you from a potential accident.
Puncture Prevention and Fixes
Preventing punctures is better than fixing them. To reduce the risk, check your tires for debris and glass before and after rides. Consider puncture-resistant tires or liners if you frequently ride in areas with thorns or glass. Keep your tires properly inflated; under-inflated tires can lead to pinch flats, while over-inflation increases the risk of punctures from sharp objects.
If you do get a flat, don’t fret. Here’s how to fix it:
- Remove the wheel and tire using tire levers.
- Inspect the tire inside and out for the cause of the puncture.
- Patch the tube or replace it if the damage is too severe.
- Check the rim for any sharp edges that could cause another flat.
- Reinstall the tire, making sure it sits evenly on the rim.
- Inflate the tire to the recommended pressure.
Carrying a spare tube, a patch kit, and a mini-pump or CO2 inflator on rides can save the day if you encounter a flat.
Braking Smoothly: Adjusting Your Stopping Power
Brakes are your lifeline on the trails and roads. They need to be responsive and reliable for your safety. Over time, brake pads wear down and cables stretch, which can affect performance.
Inspecting Brake Pads and Discs
Check your brake pads regularly for wear. If the grooves are no longer visible, it’s time for a replacement. For disc brakes, ensure the rotor is clean and free from warping. If you hear a scraping sound while braking, it could mean the pads are misaligned or the rotor is bent.
Brake Tuning Guide
Adjusting your brakes is straightforward:
- Loosen the cable if the brakes engage too tightly or too early.
- Tighten the cable if the brakes feel spongy or engage too late.
- Center the calipers if the pads are rubbing on one side of the rotor.
- Replace the brake pads if they’re worn out.
- Check and adjust the brake lever reach to your preference.
Always test your brakes after making adjustments to ensure they’re working correctly before you head out.
Drivetrain Dynamics: Ensuring Efficient Pedaling
The drivetrain is the heart of your bike’s mechanical system. Keeping it in good shape means you’ll pedal with ease and maintain momentum on your rides.
Chain Care for a Smooth Ride
A clean, well-lubricated chain is essential for a smooth riding experience. Dirt and rust can cause the chain to stick or skip. After cleaning your bike, apply a quality chain lube and wipe off the excess. Check your chain for wear with a chain checker tool; if it’s stretched beyond the recommended limit, it’s time for a new one.

Cassette and Derailleur Adjustments
The cassette and derailleurs work together to shift gears. Over time, the derailleur’s adjustments can drift, leading to missed shifts or chain drops. Here’s how to keep them in line:
- Check the alignment of the derailleur hanger. If it’s bent, shifting will be affected.
- Adjust the limit screws on the derailleur to ensure the chain doesn’t overshoot the gears.
- Use the barrel adjuster to fine-tune cable tension for crisp shifting.
- Clean the cassette regularly to prevent build-up between the cogs.
Remember, smooth shifting is a joy on the trails, so take the time to dial in your drivetrain. If you’re unsure about making these adjustments, a local bike shop can help or offer workshops to teach you the skills.
Shock Absorption: Taking Care of the Suspension
For those Cannondale Trail 5 riders who venture off-road, the suspension system is your guardian against the jolts and jostles of uneven terrain. Maintaining your suspension ensures a comfortable ride and protects your bike’s frame from excessive shock.
Front Fork Maintenance
The front fork is your first line of defense against bumps. Keep an eye on the seals for signs of wear or oil leaks. Wipe down the stanchions after rides to prevent dirt from damaging the seals. Every few months, check the suspension’s air pressure or coil spring tension, depending on your fork type. If you notice a decrease in performance, it may be time for a service, which typically involves replacing the oil and seals.
Rear Shock Care
For full-suspension bikes like the Cannondale Trail 5, the rear shock needs love too. Similar to the front fork, keep the shock clean and check for leaks. Adjust the air pressure or spring tension to suit your weight and riding style. Regularly inspect the bushings and mounting hardware for wear. If the shock feels less responsive or makes noises, consider having it serviced by a professional.
Seasonal Adjustments and Professional Tune-ups
As the seasons change, so do your bike’s maintenance needs. Temperature fluctuations, humidity, and different riding conditions can all affect your bike’s performance.
Spring Checks and Annual Overhauls
When springtime rolls around, it’s the perfect opportunity for a thorough bike check-up. This is the time to clean and lubricate the drivetrain, check brake pads and tire tread, and ensure all components are tight and properly adjusted. An annual overhaul is also a great idea, where you or a professional can deep clean the bike, replace worn parts, and make sure everything is in optimal condition for the riding season ahead.
Professional Assistance vs. DIY
While there’s a lot you can do on your own, don’t hesitate to seek professional assistance for complex tasks or when you’re not confident in your skills. Bike shops have the expertise and tools to handle anything from basic tune-ups to complete overhauls. They can also offer valuable advice and help you learn more about your bike. Balancing DIY maintenance with professional help is key to keeping your Cannondale Trail 5 in top shape.
Frequently Asked Questions (FAQ)
How often should I clean my Cannondale Trail 5 bike?
Clean your bike every couple of weeks or after rides in wet or muddy conditions. Regular cleaning prevents build-up of dirt and grime that can wear out components.
What are signs that my brakes need adjusting or replacing?
If your brakes feel spongy, make noise, or the pads look thin, it’s time for an adjustment or replacement. Always address brake issues promptly to ensure your safety on the road.
Why is it important to lubricate the chain, and how often should it be done?
Lubricating the chain reduces friction, which makes pedaling easier and extends the life of your drivetrain. Lubricate your chain every few weeks or after exposure to water or dirt.
Can I adjust the suspension by myself, or should I seek a professional?
Basic suspension adjustments like air pressure and sag can be done at home. However, for full services, including oil and seal changes, it’s best to use a professional unless you have the skills and tools.
What do I do if I notice unusual sounds or performance issues during a ride?
Stop and inspect your bike. If you can’t identify the issue, it’s safest to end your ride and take your bike to a professional to prevent further damage or a potential accident.
How often should I clean my Cannondale Trail 5 bike?
Cleaning frequency for your Cannondale Trail 5 largely depends on how often and where you ride. As a general rule, give your bike a good clean every couple of weeks or after any ride in wet, muddy, or particularly dusty conditions. Consistent cleaning not only keeps your bike looking great but also allows you to inspect the frame and components for any wear or damage that may need attention.
What are signs that my brakes need adjusting or replacing?
Brake performance is critical for safety, so be vigilant for these signs:
- A soft or spongy feel when you squeeze the brake levers indicates air in the hydraulic lines or that the cables need tightening.
- Screeching or grinding noises could mean your brake pads are worn and need replacing.
- If your bike doesn’t stop as quickly as it used to, or if the lever pulls too close to the handlebar, it’s time for an adjustment.
- Visible wear on the brake pads, such as a worn-out groove or a thinning pad, means they need to be replaced.
Keep an ear out for any unusual noises and an eye on the condition of your brake pads. Regular checks will ensure your brakes are always ready to perform when you need them.
Why is it important to lubricate the chain, and how often should it be done?
A well-lubricated chain is essential for smooth gear shifts and efficient power transfer from your legs to the wheels. Lubrication reduces the friction that can wear out your chain and gears prematurely. Aim to lubricate your chain every 100 miles or so, or more frequently if you ride in wet or dirty conditions. After applying lubricant, be sure to wipe off any excess to prevent attracting dirt, which can create a grinding paste that accelerates wear.
Can I adjust the suspension by myself, or should I seek a professional?
Adjusting the suspension can significantly improve your ride quality. Basic adjustments like setting the sag and rebound can usually be done at home with the right tools and a bit of know-how. However, if your suspension needs a full service, including replacing seals and fluids, it’s best to take it to a professional. They have specialized tools and the expertise to ensure your suspension is tuned correctly for your weight and riding style.
What do I do if I notice unusual sounds or performance issues during a ride?
If something doesn’t sound or feel right during your ride, it’s best to stop and check it out immediately. Unusual noises can be signs of loose parts, wear, or the need for lubrication. Performance issues like slipping gears or a wobbly wheel also warrant a closer look. If you can’t identify or fix the issue on the spot, it’s wise to cut your ride short and take your bike to a professional to avoid any damage or potential accidents.
Happy riding!