Key Takeaways: Master Trail Navigation with GPS
GPS devices with large screens and clear voice navigation are ideal for senior bikers.
Before hitting the trail, download maps and set waypoints to guide your journey.
Look for GPS models with emergency features like SOS buttons for added safety.
Combine GPS navigation with traditional maps and compass for backup strategies.
Regularly update your GPS device and practice on familiar trails to boost confidence.
To master trail navigation for senior bikers using GPS, consider the following steps and resources
1. Selecting the Right GPS Device: The Garmin Etrex GPS range is recommended for long-range riding, with a simple user interface and easy-to-add profile file for bikepacking use[3]. For trail riding, a chargeable unit with tracks capability that can handle abuse is recommended[4].
2. Understanding Trail Types and Features: Learn about optimizing trails for bikes, bike-specific experience factors, types of trail users, and trail features for a better riding experience[1].
3. Trail Development Process: Familiarize yourself with the trail development process, including assessment, defining project vision, goals, and objectives, identifying property for trail development, obtaining geospatial data, performing desktop analysis, creating an AOI base map, investigating environmental review and permitting requirements, planning for initial site visits, scouting sites, collecting field notes and geospatial data, processing and analyzing field data, creating a feasibility map, and providing cost considerations for future phases[1].
4. Trail Signage: Understand the importance of trail signage, including sign types and their impact on the user experience[1].
5. Building Sustainable Trails: Ensure the trails you use are physically, environmentally, economically, and socially sustainable for a better riding experience[1].
6. Volunteers or Professionals: Consider the benefits and drawbacks of using volunteers or professionals for trail development and maintenance[1].
7. GPS Navigation Apps: Utilize GPS navigation apps like Caltopo, OnX, and Gaia for mapping and navigation purposes. These apps offer features like offline maps, private land overlays, and trail information, making them useful for planning and navigating your rides[2][5].
8. In-App Ride Tune Capabilities: For electric bikes, consider using in-app ride tune capabilities to customize motor tuning settings for a more enjoyable riding experience[5].
9. Community Engagement: Connect with other Aventon riders through the Aventon app’s ‘Discover’ feature to share stories, ask for advice, and share insights about your rides[5].
By understanding the trail development process, utilizing the right GPS device, and engaging with the community, senior bikers can master trail navigation using GPS and enhance their overall riding experience.
Why GPS is a Game-Changer for Senior Bikers
Imagine you’re on a bike trail, surrounded by nature’s beauty. You feel the freedom of the ride, but there’s no worry about getting lost. That’s the beauty of GPS navigation. It’s not just about getting from point A to point B; it’s about exploring with confidence. For senior bikers, a GPS can mean the difference between a stressful experience and an exhilarating adventure.
With GPS, you can focus on the ride, not the route. It tells you where you are, where you’re going, and how to get there. It’s like having a knowledgeable guide with you, one that never gets tired or lost. And for seniors, who might worry about getting disoriented or needing to find help quickly, a GPS is an invaluable tool for staying safe and enjoying the freedom of biking.
Understanding GPS Basics
Let’s start with the basics. GPS stands for Global Positioning System. It’s a network of satellites that send signals to your device to pinpoint your location. Think of it as a high-tech compass that not only shows you direction but also your exact position on a map. This is crucial for bikers, as trails can be complex and signage may be lacking.
Most importantly, using a GPS is straightforward. Turn it on, let it find the satellites, and you’re ready to go. It’ll show your location on a digital map, and as you move, it will update in real time. You’ll see paths, landmarks, and sometimes even terrain details. This information is key to making informed decisions on the trail.
Benefits of Using GPS Over Traditional Maps
Why opt for GPS over the old-school paper map? Here are a few compelling reasons:
Real-time updates: GPS gives you live tracking. You see your movement on the map, which helps in making immediate decisions.
Clarity and detail: GPS maps can be zoomed in to reveal trail details that a paper map might not show.
User-friendly: Modern GPS devices are designed to be intuitive, with touch screens and simple menus.
Therefore, while traditional maps are still useful as backups, a GPS device offers dynamic and detailed guidance that can make all the difference when navigating unfamiliar trails.
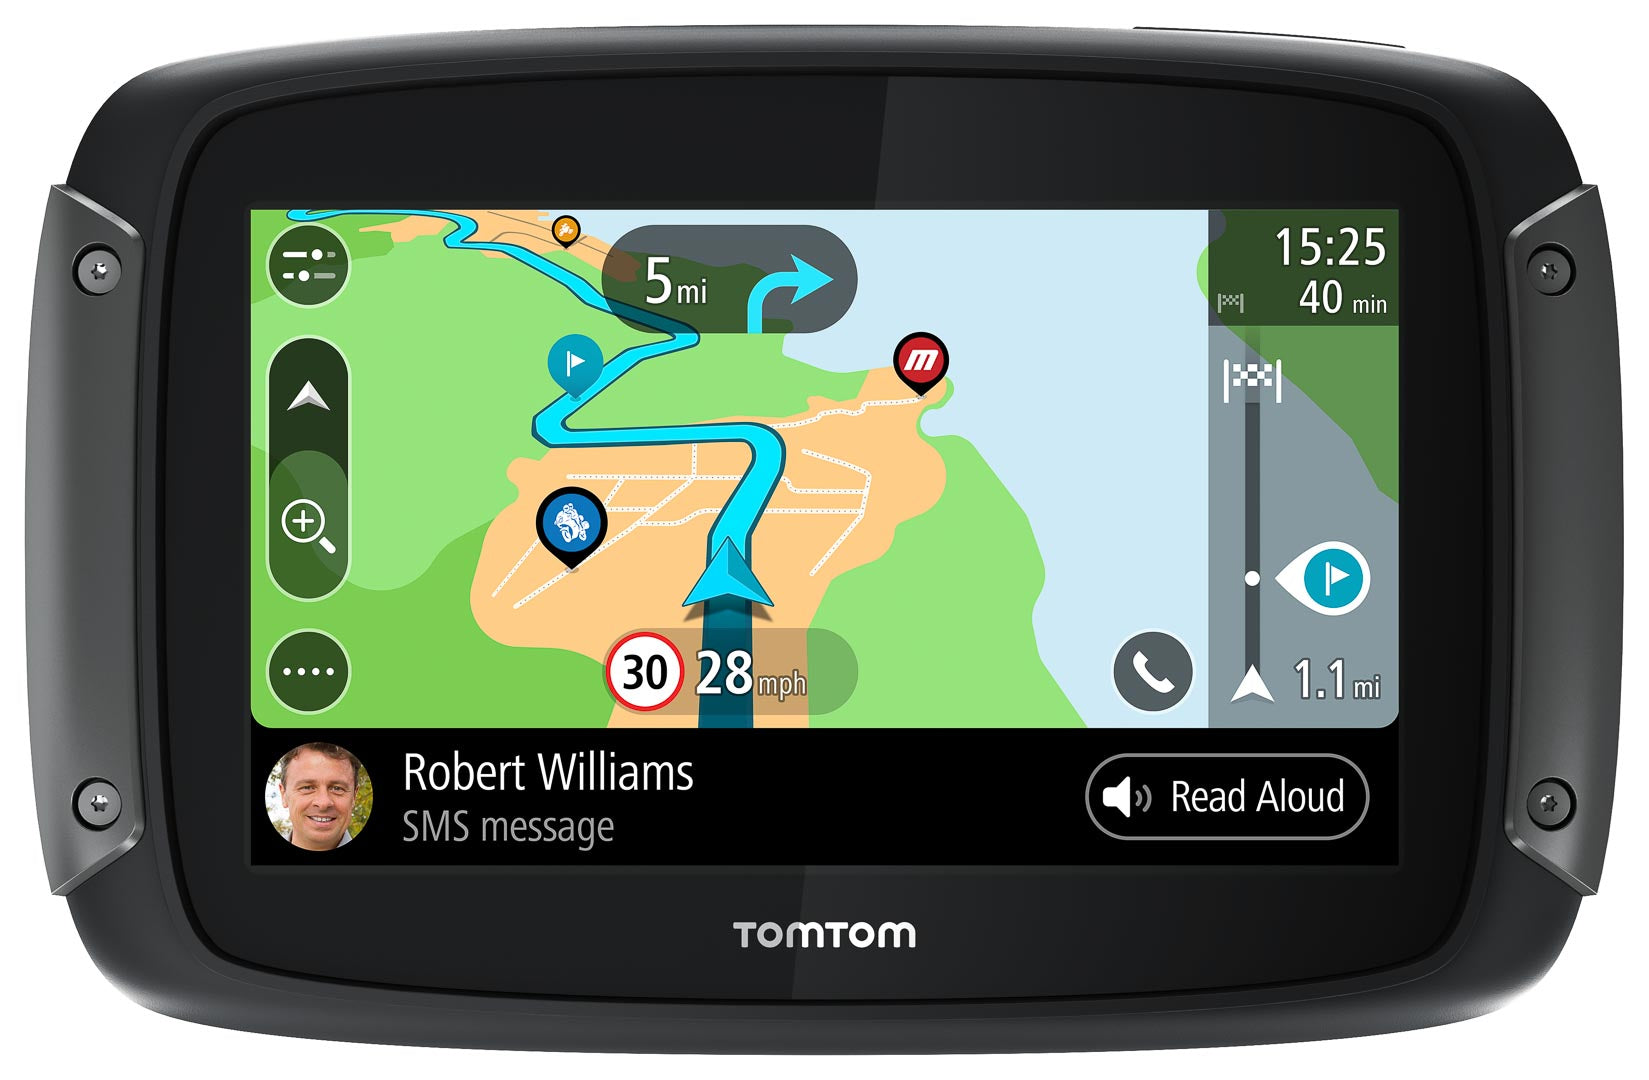
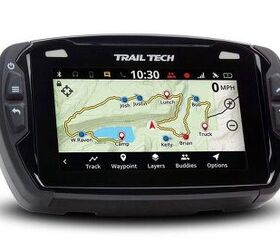
Choosing the Right GPS for the Ride
Now, let’s find the perfect GPS for your adventures. When choosing a GPS device, you want something reliable, easy to read, and simple to use. For senior bikers, this means focusing on devices that cater to your specific needs.
Key Features to Look For
Here’s what to keep an eye out for:
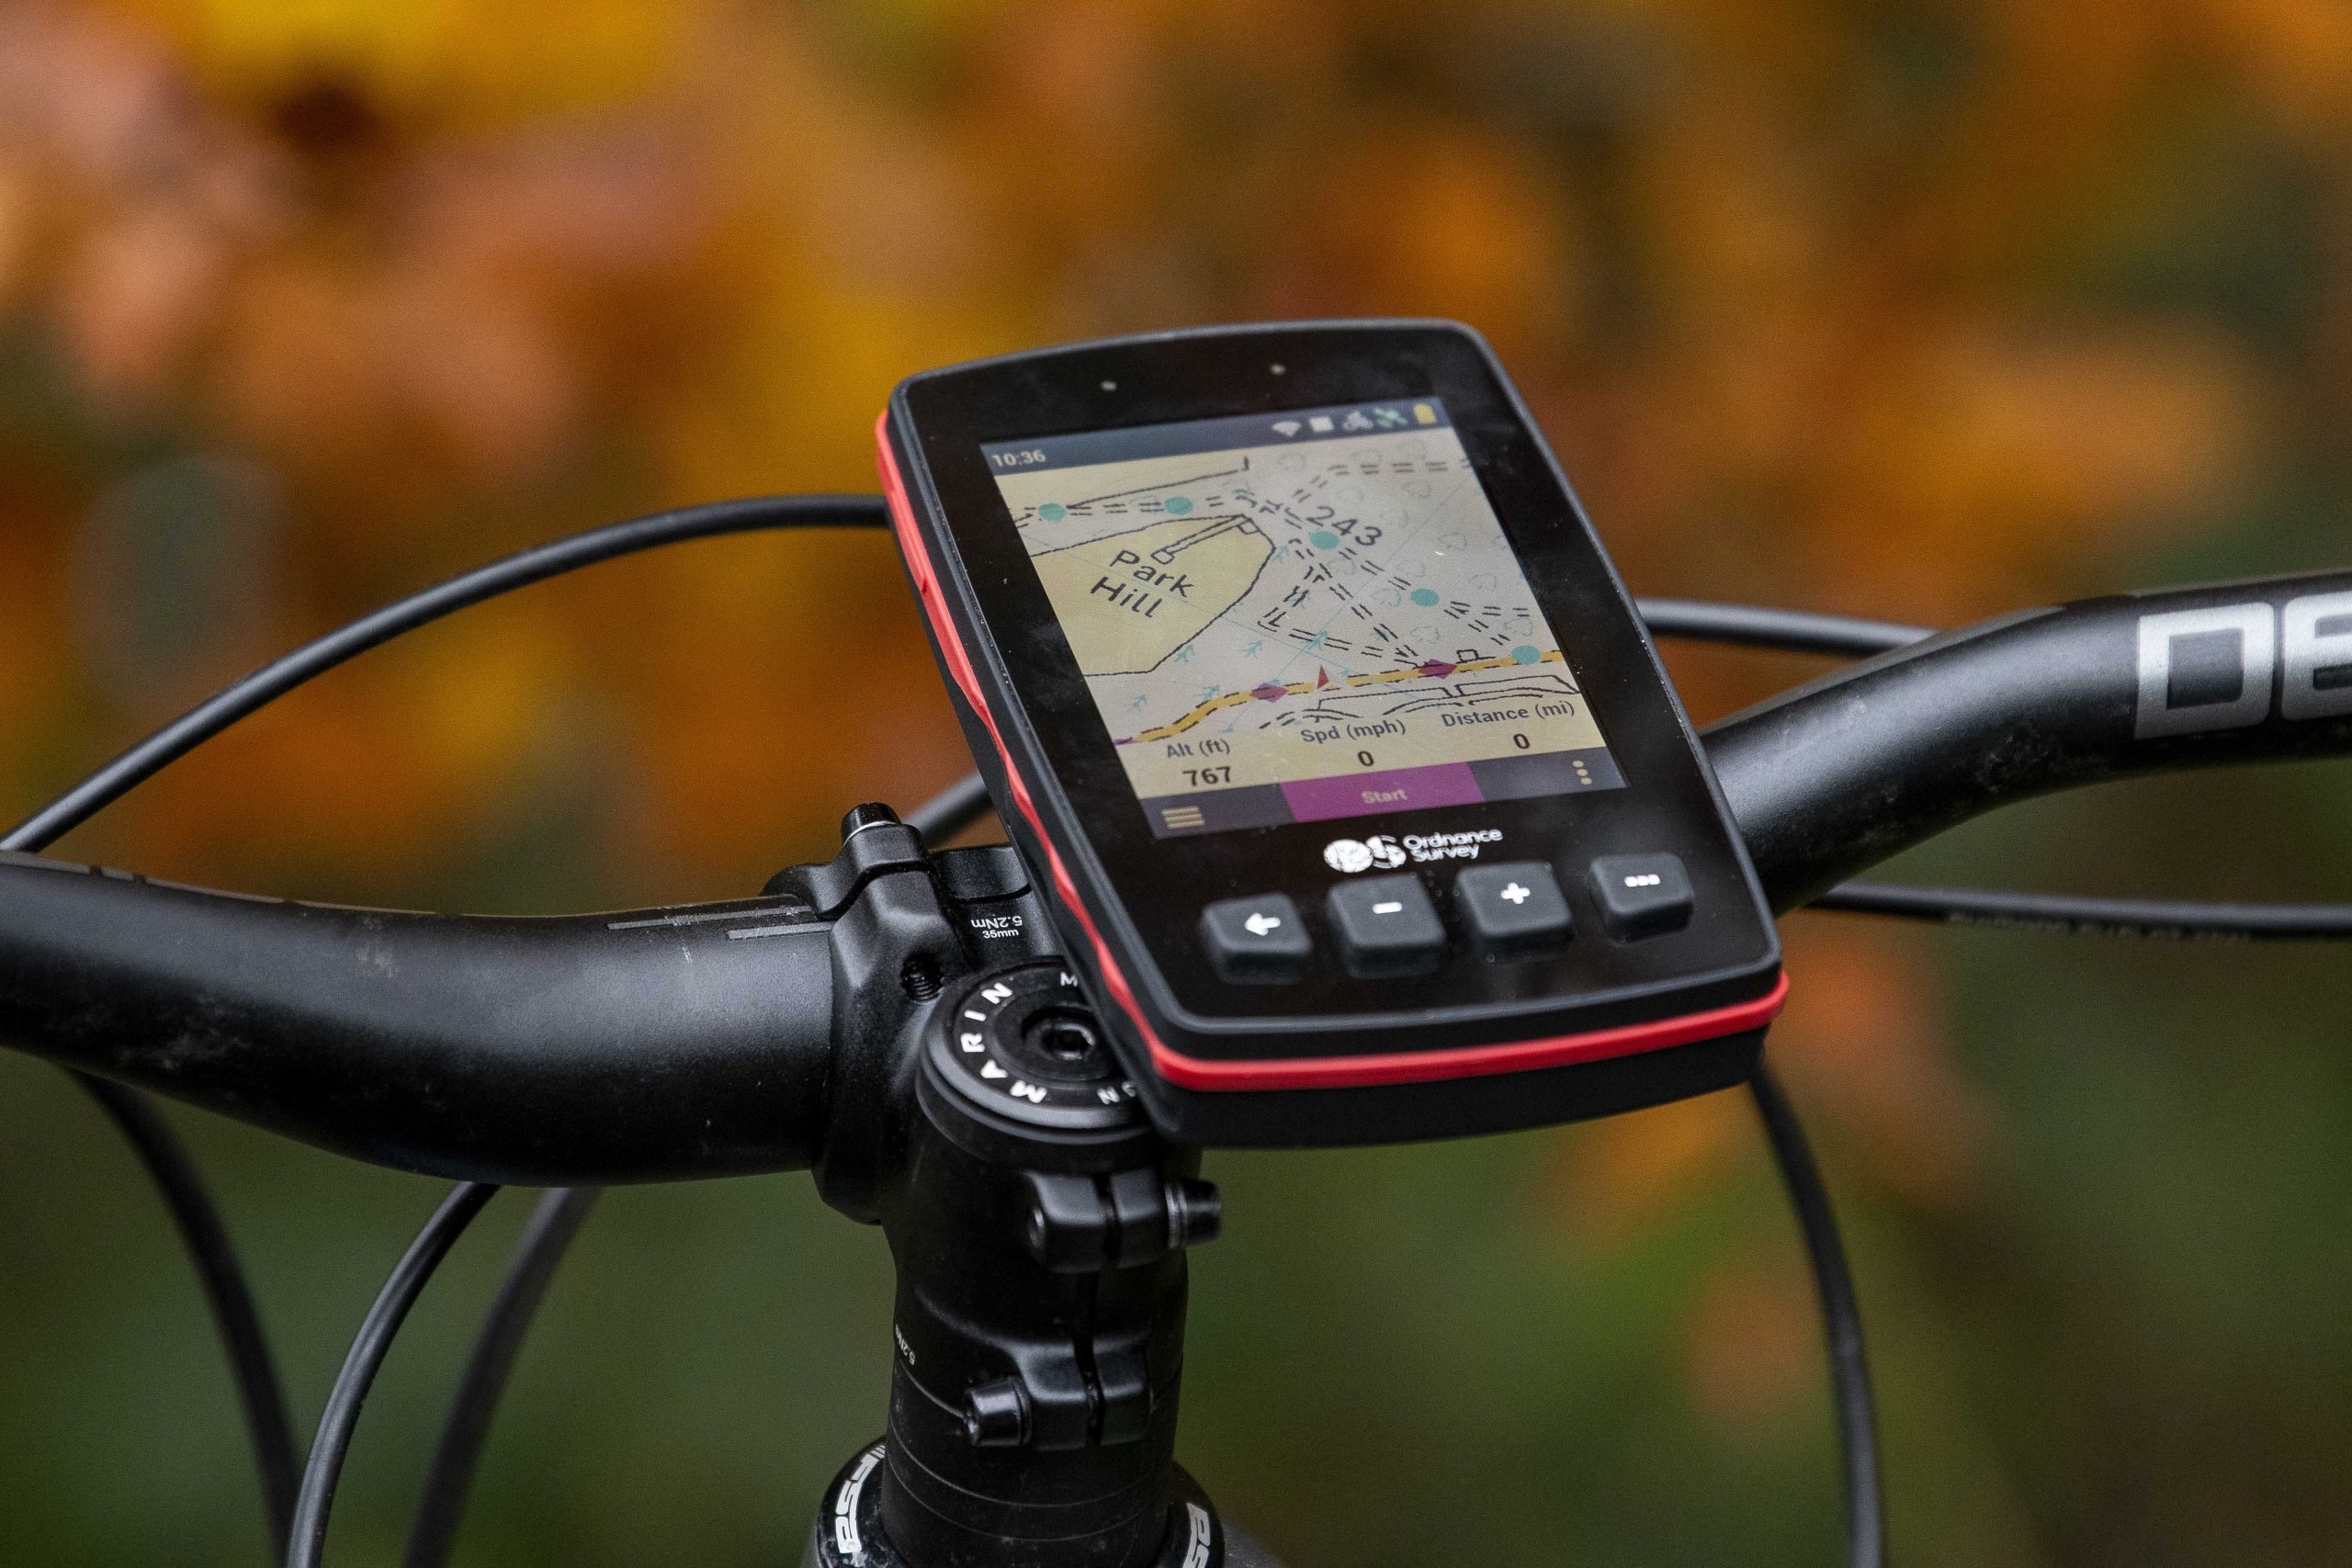
Large, clear display: A screen that’s easy to read in various lighting conditions is essential.
Simple interface: You want a device that’s straightforward to navigate, with intuitive controls.
Robust battery life: The longer the battery lasts, the better. Look for devices with at least 12 hours of battery life.
Emergency features: Options like an SOS button can alert others if you’re in trouble.
Besides that, consider the weight and mounting options. The device should be light enough not to be a burden and should easily attach to your bike.
Top GPS Models Recommended for Seniors
Here are a couple of GPS devices that tick all the boxes:
The Garmin Edge Explore comes with a large, glove-friendly touchscreen and preloaded maps. It’s also equipped with an incident detection feature that can send your location to emergency contacts.
The Wahoo ELEMNT Bolt is another great option, known for its aerodynamic design and easy-to-use interface. It has a long battery life and offers turn-by-turn navigation.
These models are just starting points. The best GPS for you will depend on your specific needs and preferences. But with these features in mind, you’re well on your way to finding a reliable trail companion.
Setting Up Your GPS Before the Trail
Got your GPS? Great! Now let’s set it up. Before you even pack your bike, spend some time getting familiar with your new gadget. Charge it up, turn it on, and let’s dive into the settings.
Initial Setup and Customization
First things first, you’ll want to familiarize yourself with GPS navigation for biking.
Update the software to the latest version. This ensures you have all the newest features and fixes.
Customize the display settings. Adjust the brightness and contrast so you can see the screen clearly in the sunlight.
Set up your emergency contacts if your device has that feature. It’s a safety net you hope to never use, but it’s important to have.
Take your time with this part. Play around with the settings until you feel comfortable. The more familiar you are with your GPS, the more you’ll enjoy using it on the trail.
After these initial steps, you’re ready to download maps and plan your route. But that’s a journey for another day. For now, rest easy knowing you’re on your way to mastering trail navigation with your new GPS.
Downloading and Using Trail Maps
Before you hit the trails, you’ll want to load up on maps. Your GPS device might come with some pre-installed, but downloading the specific maps for your adventure is key. Look for maps that offer detailed information about the trails you plan to explore. Many GPS brands have their own libraries of maps that you can access, often for free or with a subscription.
When downloading maps, choose the ones that are most relevant to your biking plans. Consider the scale and level of detail you need. Some maps provide topographical information, which can be useful to understand the terrain. Once downloaded, spend some time getting to know the map’s features. Zoom in and out, learn how to set waypoints, and check out any points of interest.
Navigating Like a Pro: GPS in Action
Now that you’re on the trail with your GPS ready, it’s time to put it into action. As you ride, your GPS will track your location and display it on the map. You can see your progress in real time, which is incredibly reassuring, especially on new or complex trails.
Keep an eye on the path ahead, but also glance down at your GPS to ensure you’re on track. If you’ve planned your route with waypoints, you’ll see them pop up as you approach, guiding you to your next turn or point of interest. It’s like having a co-pilot who knows the trail inside out.
Reading GPS Data on-the-Go
While riding, your GPS will provide a wealth of information. You’ll see your current speed, the distance you’ve traveled, and your estimated time of arrival at your destination or next waypoint. If your device has an altimeter, it will also show you your current elevation and the elevation gain or loss over your ride.
This data isn’t just for curiosity’s sake; it helps you manage your energy. If you know there’s a steep climb ahead, you can pace yourself accordingly. It’s also a great way to track your fitness progress over time. Seeing how your speed or endurance improves on certain sections of trail can be incredibly satisfying.
Waypoints and Route Planning
Waypoints are a powerful feature of GPS devices. They are specific geographical points that you can set up before you start your ride or even as you go. They can mark anything from a rest stop to a great viewpoint, or a tricky intersection where you need to be extra vigilant.
Planning your route with waypoints helps you stay on course and can also enrich your ride. By setting waypoints at points of interest, you ensure you don’t miss out on the best parts of the trail. It’s also a good safety practice to set waypoints at locations where you might need to take a break or refuel.
Improving Navigation Skills with GPS
Using a GPS is a skill, and like any skill, it improves with practice. Start with shorter, familiar routes to get the hang of interpreting the information your GPS provides. As you become more comfortable, you can tackle longer and more complex trails.
Understanding and Interpreting GPS Signals
GPS signals are generally reliable, but they’re not infallible. Sometimes, especially in areas with dense foliage or deep canyons, the signal can get blocked or bounced around, which might cause inaccuracies in your location data.
To improve your GPS navigation skills, learn to interpret the signal strength indicator on your device. A strong signal means more accurate data. If you notice the signal dropping, it might be a good idea to stop and wait for it to improve or check your position with a traditional map to double-check.
Additionally, understanding how to interpret the GPS data in the context of your surroundings is crucial. Compare what you see on the screen with what’s around you. Are the trail and the landmarks matching up? If something seems off, trust your instincts and verify with a backup navigation method.
Practice using your GPS on short, local trails before tackling longer rides.
Learn how to set and follow waypoints to enhance your route planning.
Regularly check the GPS signal strength and know how to interpret it.
Compare the GPS data with real-world landmarks to ensure accuracy.
Always carry a traditional map and compass as a backup.
Practicing with Your GPS on Familiar Trails
One of the best ways to get comfortable with your GPS is to practice on trails you know well. This way, you can focus on learning the features of your device without the added pressure of navigation. Pay attention to how the device marks your progress, how it alerts you to upcoming turns, and how it recalculates your route if you go off course.
As you practice, try creating routes with waypoints in advance and then follow them. This exercise will help you understand how the device guides you through a planned route and how it reacts if you deviate from it. The more you practice, the more intuitive using your GPS for trail navigation will become.
Start by following a pre-planned route on your GPS.
Use the ride to familiarize yourself with the device’s interface.
Experiment with setting and navigating to waypoints.
Observe how the GPS responds if you take a wrong turn or stop.
Remember, the goal is to make using your GPS second nature, so when you’re on unfamiliar trails, you can navigate with ease and confidence.
Staying Safe on the Trail
Safety should always be your top priority, and your GPS can be a big part of that. Not only does it help prevent you from getting lost, but many modern devices also include features designed specifically for emergency situations.
Emergency Features of GPS Devices
Look for GPS devices with features like:
An SOS button, which sends your location to emergency services or pre-set contacts.
Automatic incident detection, which can alert others if it detects a crash.
Live tracking, allowing friends or family to follow your ride in real time.
These features can provide peace of mind for you and your loved ones. In case of an emergency, help is just a button press away.
Trail Etiquette and Safety Tips
Finally, let’s talk about trail etiquette and safety tips. When you’re out on the trail, it’s important to be respectful of others and the environment. Stay on marked trails, yield to pedestrians and equestrians, and be mindful of wildlife. Always wear a helmet, carry sufficient water and food, and let someone know where you’re going and when you expect to be back.
By following these guidelines, you ensure a fun and safe experience for everyone on the trail. And with your trusty GPS by your side, you’re ready to explore the great outdoors with confidence and peace of mind.
When the trail gets tough, the tough get… a compass and a map? Absolutely. Even with a state-of-the-art GPS, it’s smart to know how to navigate the old-fashioned way. A compass doesn’t run out of battery, and a paper map isn’t prone to electronic glitches.
When and How to Use a Compass and Paper Map
Use a compass and paper map when:
Your GPS device loses power or malfunctions.
You’re in an area with poor GPS signal, like deep canyons or dense forests.
You want to double-check the GPS data for accuracy.
To use a compass and map effectively, align the map with north, identify your current location, and the direction you need to travel. A compass needle always points north, helping you orient yourself and the map correctly.
Back-Up Navigation Strategies
Even with your GPS and traditional map and compass, there are other back-up strategies you can use:
Follow natural landmarks or the sun’s position for general orientation.
Use trail markers and signs when available.
Remember key features along the trail in case you need to backtrack.
Having multiple navigation methods at your disposal means you’re prepared for any situation. For more detailed guidance, check out our GPS mapping software guide specifically tailored for senior bikers.
Frequently Asked Questions
Now let’s address some common questions about GPS navigation for bikers, especially the concerns that senior riders might have.
Can GPS Devices be Used in All Weather Conditions?
Most GPS devices are designed to be weather-resistant, but performance can vary in extreme conditions. Heavy rain or snow might make the screen harder to read, and extreme cold can affect battery life. Always check the manufacturer’s specifications for your device’s weather resistance.
How Often Should I Update My GPS Device?
You should update your GPS device:
Whenever the manufacturer releases a software update.
Before a major trip, to ensure you have the latest maps and features.
When you notice any bugs or performance issues.
Regular updates keep your device functioning smoothly and ensure you have access to the most current maps and navigation tools.
What Should I Do If My GPS Stops Working Mid-Trail?
If your GPS stops working mid-trail, don’t panic. First, try restarting the device. If that doesn’t work, switch to your backup navigation method. Remember the waypoints you passed and use your compass and map to find your way back to a familiar spot. Always carry extra batteries or a power bank if your device allows for recharging.
Are There Any Subscription Fees Associated with GPS Devices?
Some GPS devices come with optional subscription services for advanced features like live weather updates or detailed topographic maps. Basic navigation usually doesn’t require a subscription. Check the terms before purchasing to avoid unexpected fees.
How Accurate are GPS Devices for Trail Navigation?
Modern GPS devices are incredibly accurate, often to within a few meters. However, factors like satellite positioning, atmospheric conditions, and obstructions like tall buildings or heavy tree cover can affect accuracy. Always cross-reference GPS data with the environment and a map when possible.
In conclusion, mastering trail navigation with a GPS is a journey that combines modern technology with traditional know-how. For senior bikers, a reliable GPS can unlock new adventures and provide peace of mind. Remember to choose a device that fits your needs, practice using it on familiar trails, and always have backup navigation methods. With these tips and tools, you’re ready to embrace the freedom of the trails safely and confidently. Happy biking!
Citations:
[1] https://fpr.vermont.gov/sites/fpr/files/doc_library/IMBA-MTB-Trail-Development-Guidelines-for-successfully-managing-the-process.pdf
[2] https://andrewskurka.com/review-caltopo-backcountry-mapping-gps-navigation/
[3] https://oneofsevenproject.com/bikepacking-navigation/
[4] https://www.advrider.com/f/threads/trail-riding-gps.1524359/
[5] https://www.aventon.com/blogs/aventon_bikes/aventon-app


Leave a Reply